How to backlit an acrylic print in 5 steps
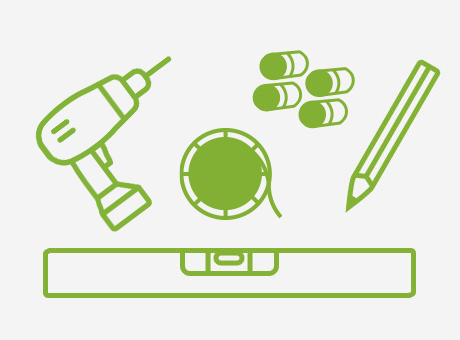
Things you need
You need a hanging kit (STEEL 20), drilling machine, spirit level, pencil and of course an LED strip light.
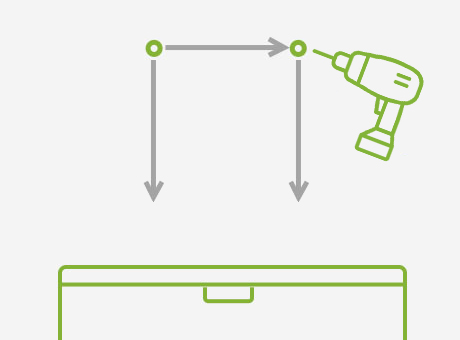
1. Attach mountings to the wall
Transfer spacing to the wall and attach the back part of the hanging kit.

2. Attach LEDs
Wrap the LED strip light around the wall mountings.
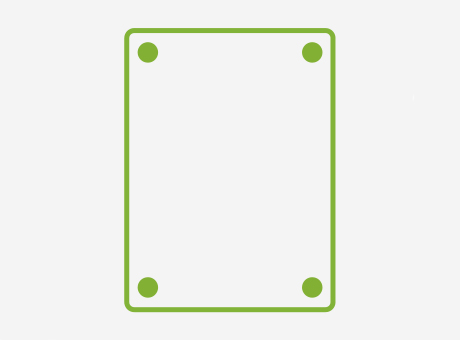
3. Attach mountings to the print
The front part of the hanging kit will be attached to the print. (Check manual!)

4. Hang the print
Now you can hang and adjust your photo.

5. Done
Congrats! Turn on the LEDs and enjoy your backlit acrylic photo.
Backlit Acrylic Prints - FAQs
-
What's better for illuminating: 3 mm or 8 mm thick glass?
The glass thickness is not relevant for the illumination, although the 8 mm perspex is way more stylish. Both versions can perfectly be used for any kind of illuminant.
-
Which mounting kit is the best suitable?
We recommend the hanging kit STEEL. With this mounting kit you'll have a proper distance to the wall which gives you plenty of space for attaching the illuminate. Moreover, you can light up the entire print.
Although adhensive hangings are prenty fancy with regard to the floating effect they're not suitable for illuminated perspex prints - as you can the shadow through the print.
-
Which illuminant should I use?
The easiest way is using a battery operated LED tubes. They can easily be attached to the wall behind the print - without nasty wires hanging down.